Avoiding problems with Butterfly valves
The majority of all problems with Butterfly valves in the field are directly related to poor installation procedures. For this reason, it is wise to consider best-practice when laying out pipe-work and installing the valve itself.
The seat in a resilient-seated Butterfly valve usually extends around to both faces of the valve. As a result, no gaskets are required as these seats serve the function of a gasket. The seat material which extends past the face is compressed during installation and flows toward the centre of the valve seat. Any change in this configuration due to improper installation directly affects the pressure rating and seating/unseating torques.
Unlike most valve types, the Butterfly valve's disc actually extends beyond the face of the valve body at given angles of opening (say, 30° or more) when installed between flanges. Therefore, it is very important before installation to ensure that the disc is able to freely turn and enter the flanges and pipe-work.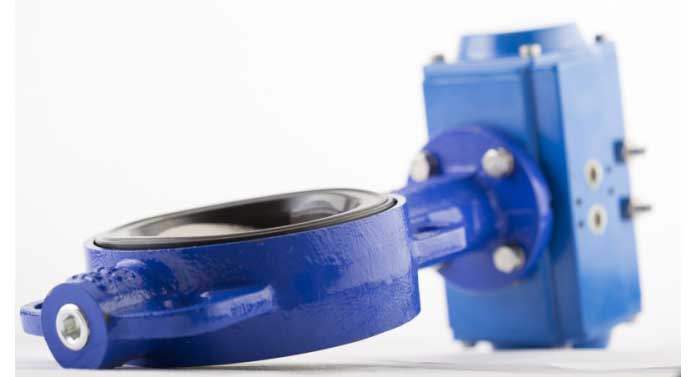
Installation Procedures
Make sure the pipeline and flange faces are clean. Any foreign material such as metal filings, pipe scale, welding slag, welding rods, etc. can limit disc movement or damage the disc or seat.
Gaskets are not required on resilient seated valves because they extend to both faces of the valve.
Align the pipe-work, and spread the flanges enough to allow the valve body to be easily inserted between the flanges without contacting the pipe flanges.
Check that the valve disc has been set to about 10% open so it doesn't become jammed in the fully seated position.
Insert the valve between the flanges as shown, taking care not to damage the seat faces. Always lift the valve by the locating holes or by using a nylon sling on the neck or the body. Never lift the valve by the actuator or operator mounted on the valve.
Place the valve between the flanges, centre it, insert the bolts and hand-tighten them. Carefully open the disc, making sure the disc does not contact the inside of the adjacent pipes.
Very slowly close the valve disc to ensure disc edge clearance from the adjacent pipe flange.
Fully open the disc and tighten all flange bolts as shown.
Repeat a full close to full open rotation of the disc to ensure proper clearances.