In this article, let's talk about the installation method of the wafer butterfly valve. The wafer type is a connection method of the butterfly valve. When the pipe is installed on the pipe, two flanges are needed to clamp the butterfly valve first, and then the flange is connected with the flange on the pipe.
Corresponding to the butterfly valve is another connection, flanged. The installation of flanged butterfly valves will be shared with you in the future. Today, we mainly discuss how to install wafer butterfly valves through graphic and textual forms.
The structure of the wafer butterfly valve is short, take up the space is little,when installing, first use the special flange for the wafer butterfly valve to fix it, and then place the fixed wafer flange in the middle of the flanges at the two ends of the pipe, and use the bolt to pass through the special flange and pipe flange of the clip-on butterfly valve. By fixing it, the fluid medium in the pipeline can be controlled (if there is no flange on the pipeline, the special flange of the butterfly valve needs to be welded to the pipeline). The wafer butterfly valve's small footprint makes it particularly suitable for applications where space is limited or where the distance between pipes is relatively small.
The specific installation steps of the wafer butterfly valve are as follows:
1. Place the wafer-type butterfly valve between the pre-installed two-piece butterfly valve flanges. Note that the flange bolt holes are aligned with the butterfly valve body circular holes.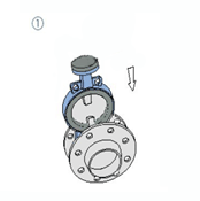
2. Insert the bolt and nut into the flange hole to connect the valve body with the flange. Correct the flatness in the method, but be careful not to over tighten the bolt and nut.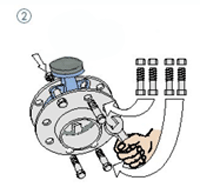
3, welding the flange on the pipe, this step to use spot welding.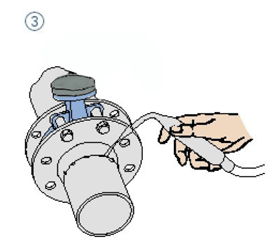
4. Remove the wafer butterfly valve first.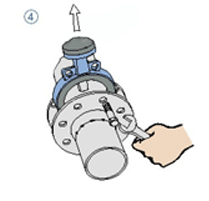
5. Weld the two flanges completely to the pipe and complete the fixation.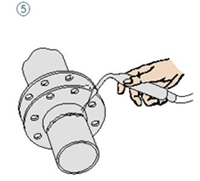
6. After the flange is cooled with the welding section of the pipe, then the clamping butterfly valve shall be installed.Now notice that you want to open the butterfly plate.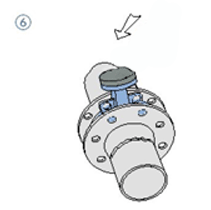
7. Make a correction to the installation position of the butterfly valve and tighten the bolt, but be careful not to tighten it too tightly.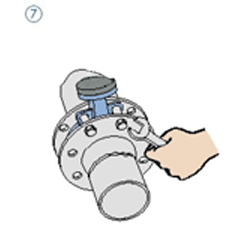
8. Fully open the butterfly valve butterfly plate to ensure that the butterfly valve butterfly plate can be opened and closed freely.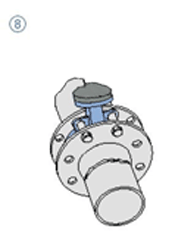
9. Once again, cross the bolt and tighten it evenly;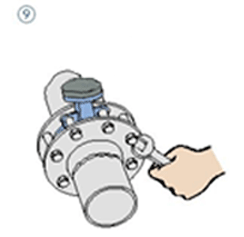
10. The above steps are completed. Once again, make a test of the opening and closing of the butterfly valve to ensure that the valve is free to switch.
The above is the butterfly valve installation procedure introduction, in this case also to all the friends who buy butterfly valve to say, before the installation of the wafer butterfly valve, the handling should be careful, not to be randomly touched.After installation, non-professional, do not disassemble randomly.